Ask Any Question Here
Our experts will answer any of your questions about ERP, business automation, software development, setup and customization, system architecture and much more

Ask Any Question Here
Our experts will answer any of your questions about ERP, business automation, software development, setup and customization, system architecture and much more
Apply Multiple Font Colors to a Single Cell in an Excel File Using Openpyxl
Question:
How can I apply multiple font colors to a single cell in an Excel file using openpyxl?
Answer:
Styles in Excel are a powerful tool to enhance the visual appeal of your data by changing the way it looks on screen. They can also be used to determine the formatting for numbers, making your data more readable and easier to understand.
With openpyxl, you can apply styles to various aspects of your Excel file, such as the font, fill, border, cell alignment, and protection. By setting these properties, you can control the visual appearance of your data and make it more visually appealing and easier to read.
For example, you can use openpyxl to set the font size, color, and underlining of your data, as well as to apply patterns or color gradients to the background of your cells. You can also set borders on your cells to make them stand out, and adjust cell alignment to control the position of your data within the cell.
Another useful feature of openpyxl is the ability to apply conditional formatting, which allows you to apply styles to your data based on certain conditions. For example, you can use conditional formatting to apply font colors based on the text content of the cell while preserving the original formatting of the cell, such as font family, font size, and font style.
By default, openpyxl provides a set of predefined styles that you can use to format your data. These styles provide default values for various formatting properties, such as font size, font family, and font style. You can also create your own custom styles to apply specific formatting to your data, such as a unique font size or color scheme.
from openpyxl.styles import PatternFill, Border, Side, Alignment, Protection, Font
font = Font(name='Calibri',size=11,bold=False,italic=False,vertAlign=None,underline='none',strike=False,color='FF000000')

fill = PatternFill(fill_type=None,start_color='FFFFFFFF',end_color='FF000000')

border = Border(left=Side(border_style=None,color='FF000000'),right=Side(border_style=None,color='FF000000'),top=Side(border_style=None,color='FF000000'),bottom=Side(border_style=None,color='FF000000'),diagonal=Side(border_style=None,color='FF000000'),diagonal_direction=0,outline=Side(border_style=None,color='FF000000'),vertical=Side(border_style=None,color='FF000000'),horizontal=Side(border_style=None,color='FF000000'))

alignment=Alignment(horizontal='general',vertical='bottom',text_rotation=0,wrap_text=False,shrink_to_fit=False,indent=0)

number_format = 'General'
protection = Protection(locked=True,hidden=False)
Cell Styles
Cell styles are shared between objects and once they have been assigned they cannot be changed. This stops unwanted side-effects such as changing the style for lots of cells when only one changes.
from openpyxl.styles import colors
from openpyxl.styles import Font, Color
from openpyxl import Workbook
wb = Workbook()
ws = wb.active
B1 = ws['B1']
E4 = ws['E4']
ft = Font(color="FF0000")
B1.font = ft
E4.font = ft
B1.font.italic = True
B1.font = Font(color="FF0000", italic=True)
Copying Styles
Styles can also be copied:
from openpyxl.styles import Font
from copy import copy
font1 = Font(name='Arial', size=14)
font2 = copy(ft1)
font2.name = "Tahoma"
font1.name
font2.name
font2.size
#Output:
#'Arial'
#'Tahoma'
#14
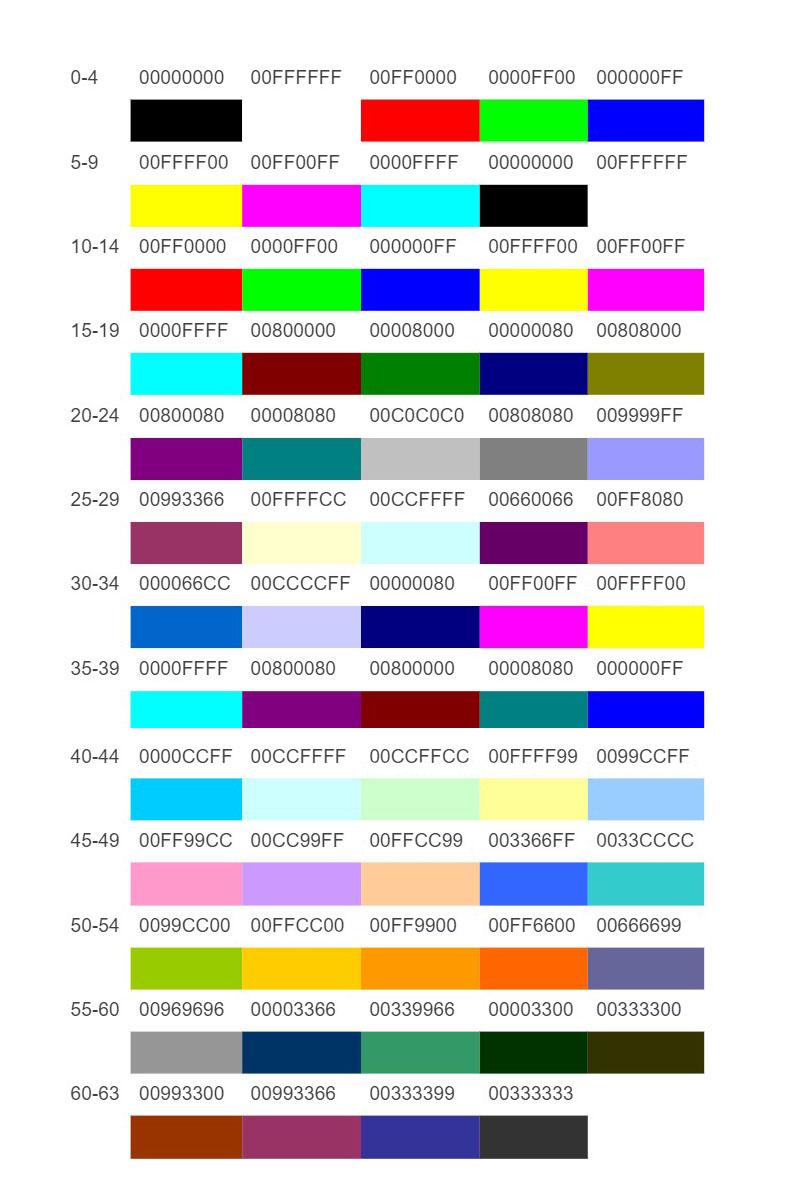
Indexed Colours
Index
Applying Styles
Styles are applied directly to cells
from openpyxl.workbook import Workbook
from openpyxl.styles import Font, Fill
workbook = Workbook()
workbooks = workbook.active
c = workbooks['A1']
c.font = Font(size=12)
Styles can also be applied to columns and rows but note that this applies only to cells created (in Excel) after the file is closed. If you want to apply styles to entire rows and columns then you must apply the style to each cell yourself. This is a restriction of the file format:
column = workbooks.column_dimensions['A']
column.font = Font(bold=True)
row = workbooks.row_dimensions[1]
row.font = Font(underline="single")
Styling Merged Cells
The behavior of a merged cell is quite similar to that of other cell objects. Its value and format are primarily defined in the top-left cell. To modify the border of the entire merged cell, you will need to adjust the border of its top-left cell. It’s essential to note that the formatting is generated for the sole purpose of writing.
from openpyxl.styles import Border, Side, PatternFill, Font, GradientFill, Alignment
from openpyxl import Workbook

workbook = Workbook()
workbooks = workbook.active
workbooks.merge_cells('B2:F4')

top_left_cell = workbooks['B2']
top_left_cell.value = "My Cell"

thin = Side(border_style="thin", color="000000")
double = Side(border_style="double", color="ff0000")

top_left_cell.border = Border(top=double, left=thin, right=thin, bottom=double)
top_left_cell.fill = PatternFill("solid", fgColor="DDDDDD")
top_left_cell.fill = fill = GradientFill(stop=("000000", "FFFFFF"))
top_left_cell.font  = Font(b=True, color="FF0000")
top_left_cell.alignment = Alignment(horizontal="center", vertical="center")

workbook.save("styled.xlsx")